Friday, July 20, 2012

Zucchini cornbread muffins

My parents plant lots of fresh goodies in their backyard.  One of them is zucchini.  They say they have so many, there are way too much that they cannot catch up with them growing super fast.  So before they chop that zucchini plant off for good, I was able to save myself three sexy ones.  Besides making zucchini salad, soup, and saute zucchini, I've got to figure out a way that I can use zucchini for baking.  Zucchini check, cornbread mix check, cheddar cheese check...zucchini cornbread muffin that is!


Zucchini Cornbread Muffins
(16 servings ~ 138 calories each)

Our last 3 sexy zucchini, I used only the smallest two
Ingredients:
2 boxes Jiffy cornbread mix
1/3 cup nonfat milk
1 egg
2 cups shredded zucchini
3/4 cup reduced fat shredded cheddar cheese


Directions:
1. Preheat oven to 400F.  Spray muffin pan with PAM cooking spray, set aside.
2. Mix cornbread mix with milk and egg.
3. Mix in shredded zucchini and half of the cheddar cheese.


4. Scoop batter half full in muffin pan, sprinkle with cheddar cheese, bake for 15-17 minutes until golden brown.


Semi-sweet, semi-salty, the zucchini makes these
muffins super moist, melted cheese gives a little
kick to these yummy goodies :)

Thursday, July 19, 2012

Baked pumpkin

Have some leftover pumpkin from last night's dinner.  Let's use it to make brunch! 
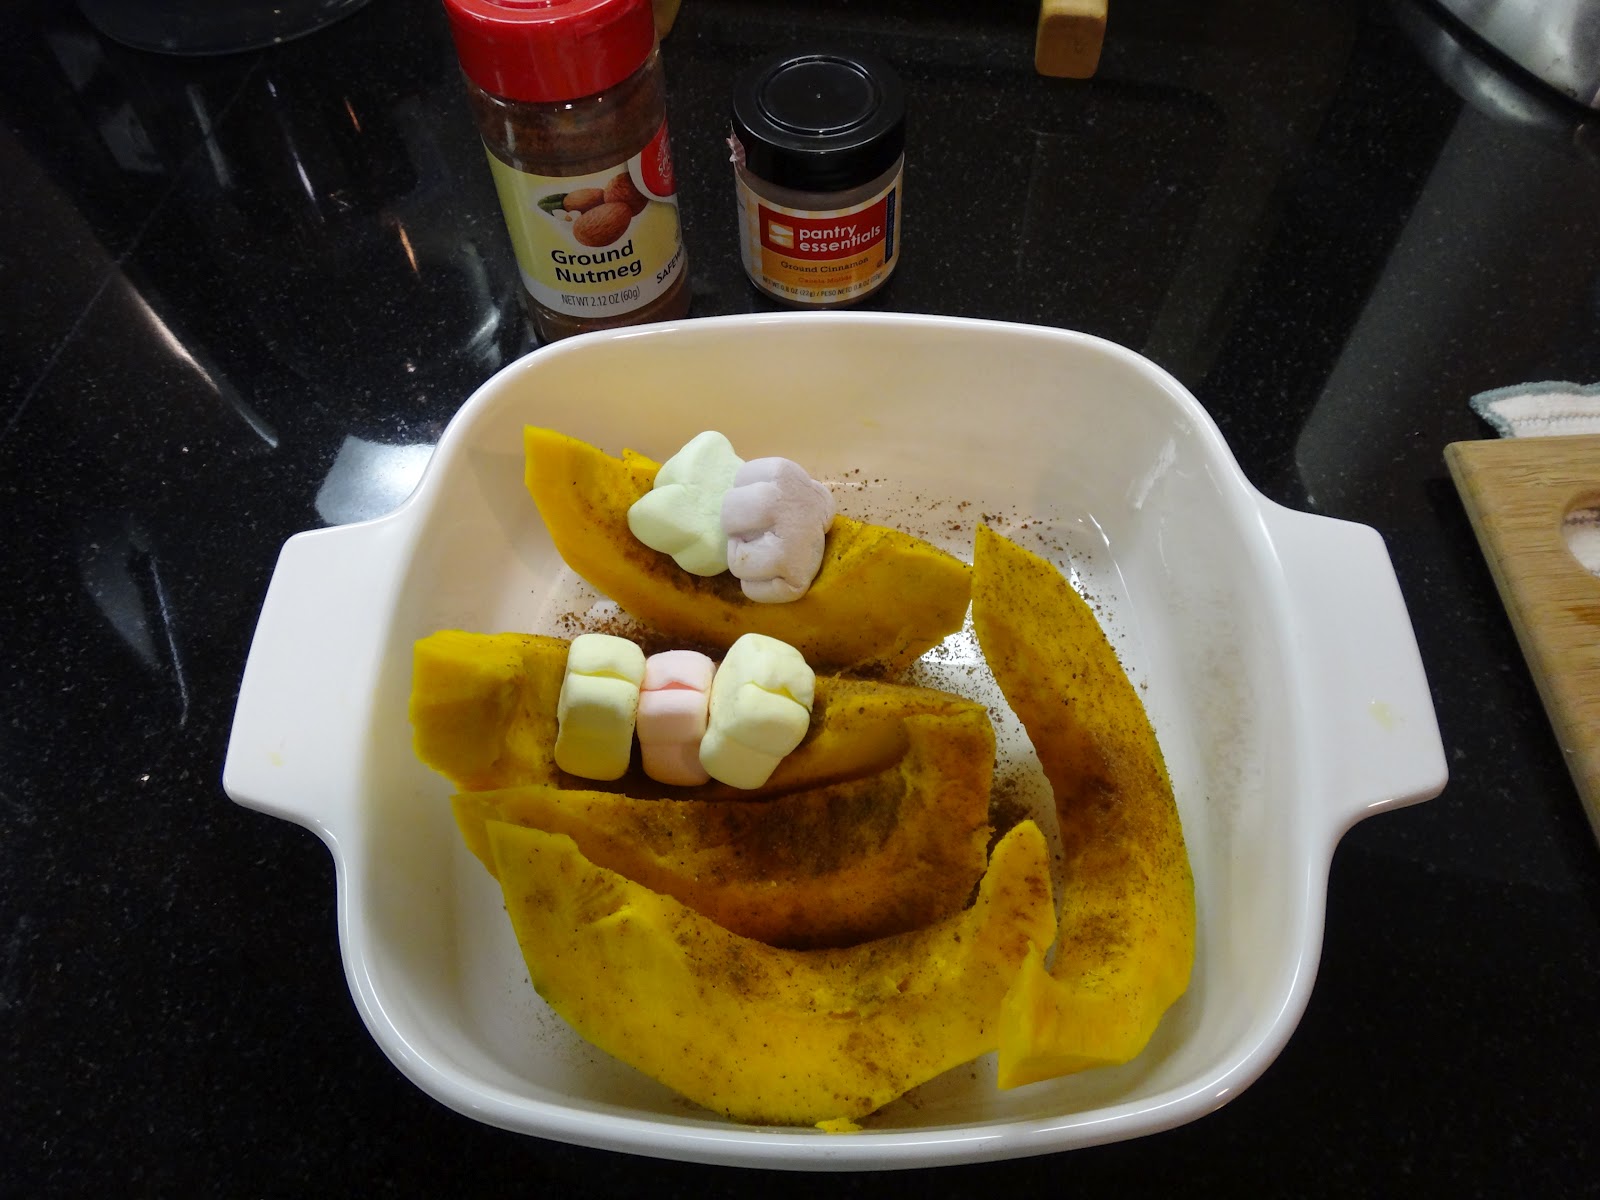
Pumpkin has some natural sweetness in it.  So for this recipe I didn't put any sugar, but I did add some leftover marshmallows from Easter, let's see how it turns out!

Baked pumpkin with brown sugar oatmeal and
Chai latte :)

Baked Pumpkin
Ingredients:
1 cup fresh pumpkin
a pinch of ground cinnamon
a pinch of nutmeg
a few marshmallows (optional)

Directions:
1. Preheat oven to 400F.
2. Wash and peel pumpkin and cut into wedges.


3. Set pumpkin wedges into a baking dish and sprinkle ground cinnamon and nutmeg.  Add marshmallows on top (optional)


4. Bake for 25-30 minutes until tender.


Low Fat Tiramisu

My sister has been asking me for months to make tiramisu.  For some reason, I always thought tiramisu is very difficult to do.  Or in my mind I think tiramisu is very fattening so I try to avoid making it.  Since my sister has been waiting for months, I searched for a low fat version.  It probably will satisfy her cravings for this coffee-chocolate-cheese dessert, and still doesn't break my bathroom scale. 


Low Fat Tiramisu
recipes adapted from here, and here
(10 servings, 171 calories each, 3.9 grams of fat)

Ingredients:
(for ladyfingers, I made about 52 of them)

4 eggs, separated
1/4 tsp cream of tartar
2/3 cup white sugar
1/4 tsp vanilla extract
7/8 cup all-purpose flour
1/2 tsp baking powder

Directions:
1. Preheat oven to 400 degrees F (205 degrees C). Line two 17 x 12 inch baking sheets with baking parchment. Fit large pastry bag with a plain 1/2 inch round tube.
2. Place egg whites in bowl and beat on high until soft peaks start to form. Slowly add 1/4 tsp cream of tartar then 2 tablespoons of the sugar and continue beating until stiff and glossy. In another bowl beat egg yolks, vanilla extract, and remaining sugar. Whip until thick and very pale in color.
3. Sift flour and baking powder together on a sheet of wax paper. Fold half the egg whites into the egg yolk mixture. Fold in flour, and then add the remaining egg whites. Transfer mixture to pastry bag and pipe out onto prepared baking sheet. Bake 8 minutes.


Ingredients:
(for tiramisu, can make about 2 loaf pans or 1 8"x8" pan)

30 ladyfingers from the above recipe

Filling
1 cup Reduced fat ricotta cheese 
8 oz nonfat cream cheese
1 cup lite sour cream
1 cup nonfat vanilla yogurt
2 tbsp sugar
1 tbsp rum

Soaking Liquid
1 cup of strong coffee
1 tbsp unsweetened cocoa powder
1 tbsp sugar
1 tbsp coffee liquor
more unsweetened cocoa powder for garnish

Directions:
1. In a food processor, combine filling ingredients. Process until smooth, set aside.


2. Combine soaking ingredients in a small bowl.


3. Quickly dip ladyfinger into coffee mixture.


4. Arrange ladyfingers in 2 loaf pans or 1 8"x8" pan.


5. Spread half of the cheese mixture evenly on top.


6. Dip more ladyfingers and arrange on top of the first layer.
7. Top with the remaining filling.
8. Place a toothpick in each corner of the pan and cover pan with plastic wrap. Try not to let the plastic touch the topping.
9. Refrigerate 3 to 8 hours.
10. Sprinkle with remaining cocoa and serve.


I got to use my new toy -- the food processor that hubby bought for me :)
Tiramisu came out sour...I don't know why.  Maybe the coffee that I used that turned sour with the cheese filling?  Maybe the low fat version of the filling? Maybe the rum that I used?  Really not sure what went wrong.  I'll need to try making a full fat version next time to compare the results :)  I was worried about uncooked eggs on other recipes, probably have to try it next time...

Wednesday, July 18, 2012

Low Fat Pumpkin Ravioli

I don't know what has gotten to me the other day.  I was craving for pumpkin!  The naturally sweet, mushy and fresh pumpkin...hmmm...  Pumpkin is loaded with vitamin A and other antioxidants, yet it's low in calories.  It's easy to find in grocery stores.  They come in fresh or in cans.  This is my first time working with pumpkin.  I'm actually not going to bake it today :)  rather, I made ravioli. 


Low Fat Pumpkin Ravioli
(24 servings ~ 43 calories each, 0.3 grams of fat)
recipe adapted from here

Ingredients:
1 cup canned pumpkin
1/4 cup grated Parmesan cheese
1/4 tsp salt
1/8 tsp black pepper
24 wonton wrappers (I used medium thickness)

Directions:
1. Combine 1 cup pumpkin, 1/4 cup Parmesan, 1/4 teaspoon salt, and 1/8 teaspoon black pepper.


2. Spoon about 1-2 tsp pumpkin mixture into center of each wonton wrapper. Moisten edges of dough with water; bring 2 opposite sides together to form a triangle, pinching edges with a fork to seal.


3. Place ravioli into a large saucepan of boiling water with 1 teaspoon salt; cook until ravioli floats on top of the water and drain in a colander.


Leftovers, will save them for later!


I also made pumpkin soup


Pumpkin ravioli with mushroom sauce and tofu noodles
healthy and low fat :)
Yum!

Friday, July 13, 2012

Low Fat Whole Wheat Blueberry Muffins

I was supposed to make zucchini muffins today, but silly me, forgot to bring the home-growth zucchini from my parent's house.  I have some fresh blueburries in the fridge...hmm...why not use them instead?  Found a recipe on Betty Croker, let's give it a try! 
Low Fat Whole Wheat Blueberry Muffins
(12 servings ~ 113 calores each, 0.6g fat)
recipe adapted from here

Ingredients:
1 tbsp packed brown sugar
1/8  tsp ground cinnamon
3/4 cup non fat milk
1/4 cup unsweetened applesauce                 
1/4 cup honey
1/2 tsp vanilla extract
1 egg
1 cup all purpose flour
1 cup whole wheat flour
3 tsp baking powder
1/2 tsp salt
3/4 cup fresh blueberries

Directions:
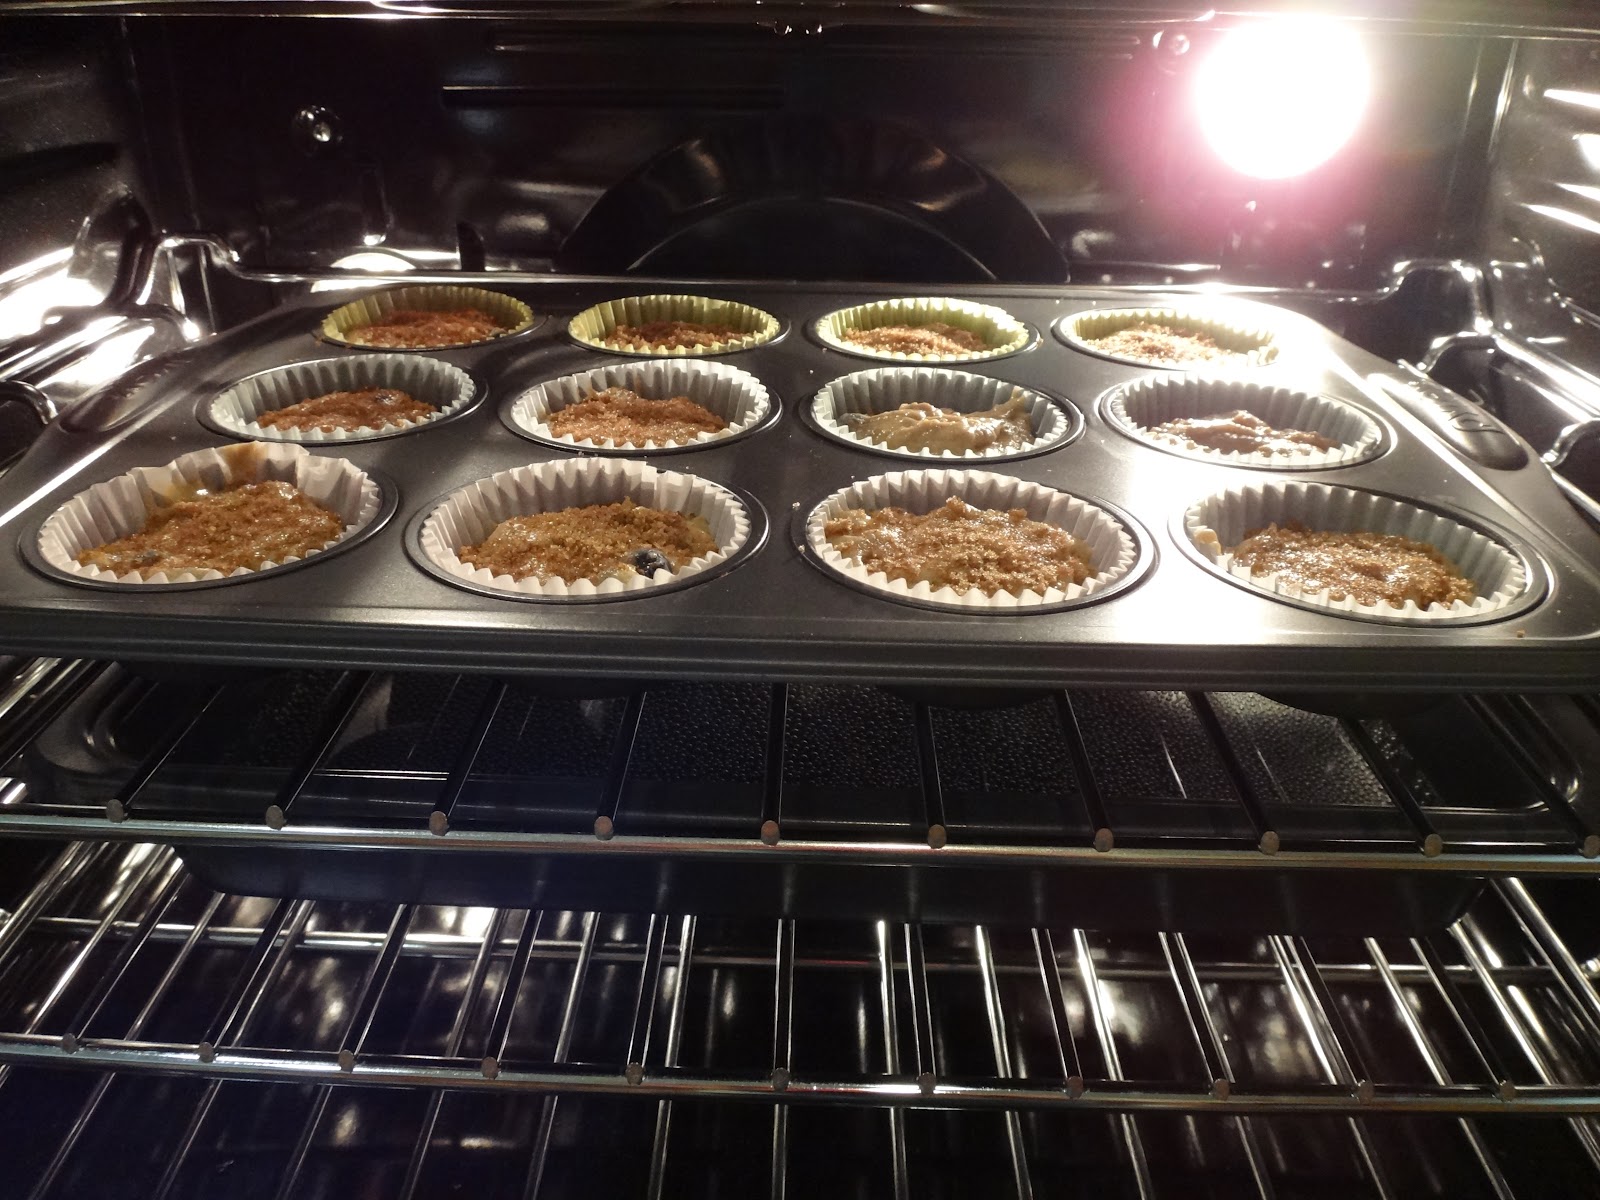
1. Heat oven to 400°F.  Place a baking pan with water on the middle rack of the oven.  Place paper baking cup in each muffin cup.  In small bowl, mix brown sugar and cinnamon; set aside.

2. In large bowl, beat milk, applesauce, honey, vanilla extract and egg with spoon. Stir in flours, baking powder and salt just until flours are moistened.  Gently fold in blueberries.


3. Divide batter evenly among muffin cups (cups will be full). Sprinkle with brown sugar mixture. Bake on top rack (above the water bath rack) about 20 minutes or until golden brown. Immediately remove from pan.


Made two muffins with no brown sugar on top for my dad :)

It's probably not sweet enough for most people
but I like natural sweetness from blueberries
and honey :) 0.6 grams of fat, how can you
beat that?!

Tuesday, July 10, 2012

Taro buns

My mom loves taro.  This purple root vegetable is full of fiber and vitamins.  It's often used in dim sum and dessert in Asia.  The texture of taro is like potato, but the nutrition value in taro is better than potato.  Yum :)  I've been wanting to make some taro bread, then I saw a can of taro in my pantry.  So let's use it to make taro buns!  I substituted one cup of whole wheat flour in this recipe.  Nobody could tell the difference :p Whole wheat does the body good!

Taro Buns
(15 servings ~ 165 calories each)

Ingredients:
Basic white bread dough
(substituted one cup of whole wheat flour with one cup of bread flour)
one can of prepared taro

Directions:
1) Prepare basic white bread dough with a bread machine.
2) After the dough cycle is completed, punch dough, then divide dough into 15 pieces and cover with plastic wrap. Let it rest for 15 minutes.
3) Meanwhile, open the can of prepared taro, drain the syrup, and mash the cubed taro with a fork/spoon.  Set aside.


4) Roll out dough on a lightly floured surface. Put about 1 tbsp of the filling, then wrap it up.


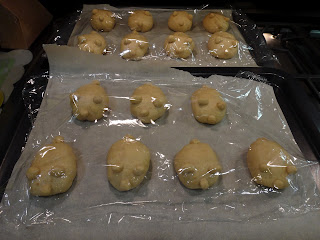
I made them into little piggy :) So Cute!


5) Place the filled dough on baking paper, round side up, cover with plastic wrap and let it raise for another 30-40 minutes or until doubled.


6) Preheat oven to 375F.
7) Prepare egg wash by mixing 1 tbsp of water with 1 egg yolk (optional). Brush egg wash on top of the buns right before you put them in the oven.


8) Bake at 375F for 13-16 minutes until golden brown.