Wednesday, June 27, 2012

Mini Hawaiian Pizzas

Who doesn't like pizzas?  Hot, juicy, cheesey pizzas are best with a can of coke or a bottle of beer!  What about homemade pizzas?  Build your own fresh pizzas with whatever toppings you have in your pantry/fridge.  They are quite simple to make.  As always, it's more healthy when you cook your own food.  You know exactly what you put in it. 


Mini Hawaiian Pizzas
(12 Servings ~ 245 calories each)

Ingredients:
Basic White Bread Dough
1 tsp garlic powder
1/2 tsp dried basil

1/2 tbsp olive oil
1 cup pizza sauce or pasta sauce
6 pineapple slices from can, cut into pieces
3 slices of ham, cut into pieces
1/2 cup shredded Swiss cheese
1/2 cup shredded parmesan cheese
1 cup 2% milk reduced fat mozzarella shredded cheese
1/8 tsp dried oregano

Directions:
1. Prepare basic white bread dough with a bread machine, add garlic powder and dried basil along with other ingredients for bread dough. Put on dough cycle, press start.


2. After the dough cycle is completed, punch dough, then divde dough into 12 pieces and cover with plastic wrap, let it rest for 15 minutes.


3. On a slightly floured surface, roll the dough out flat, use a fork and poke the dough a few times, then spread a few drops of olive oil on top of the dough surface. 


4. Using a teaspoon, spread about 1 teaspoon of pizza sauce around the dough, sprinkle some Swiss and parmesan cheese, top with ham and pineapple pieces, then pour another teaspoon of pizza sauce on top, and sprinkle some mozzarella cheese and dried oregano (I love the stringy effect of melted mozzarella cheese!)


5. Place the dough on a baking sheet that is lined with baking paper, covered with plastic wrap, let it raise for 30-40 minutes.
6. Preheat oven to 375F, bake for about 15 minutes until cheese are all melted. 

Best to serve hot!  Yum!

Tuesday, June 26, 2012

Hot Dog Buns

Had a little get together lunch with my old co-workers last week.  One of them is moving to Japan for a few years.  I'm going to miss her!  I wanted to bake my friends something fresh, tasty and memoriable. 

Hot Dog Buns
(16 servings ~ 155 calories each)

Ingredients:
1 teaspoon garlic powder
1/2 teaspoon dried basil

1 package (8 links) Hot dog links (beef, turkey, or chicken), cut each link in half

Directions:
1. Prepare basic white bread dough with a bread machine, add garlic powder and dried basil along with other ingredients for bread dough.  Put on dough cycle, press start.
2. After the dough cycle is completed, punch dough, then divde dough into 12 pieces and cover with plastic wrap. Let it rest for 15 minutes.
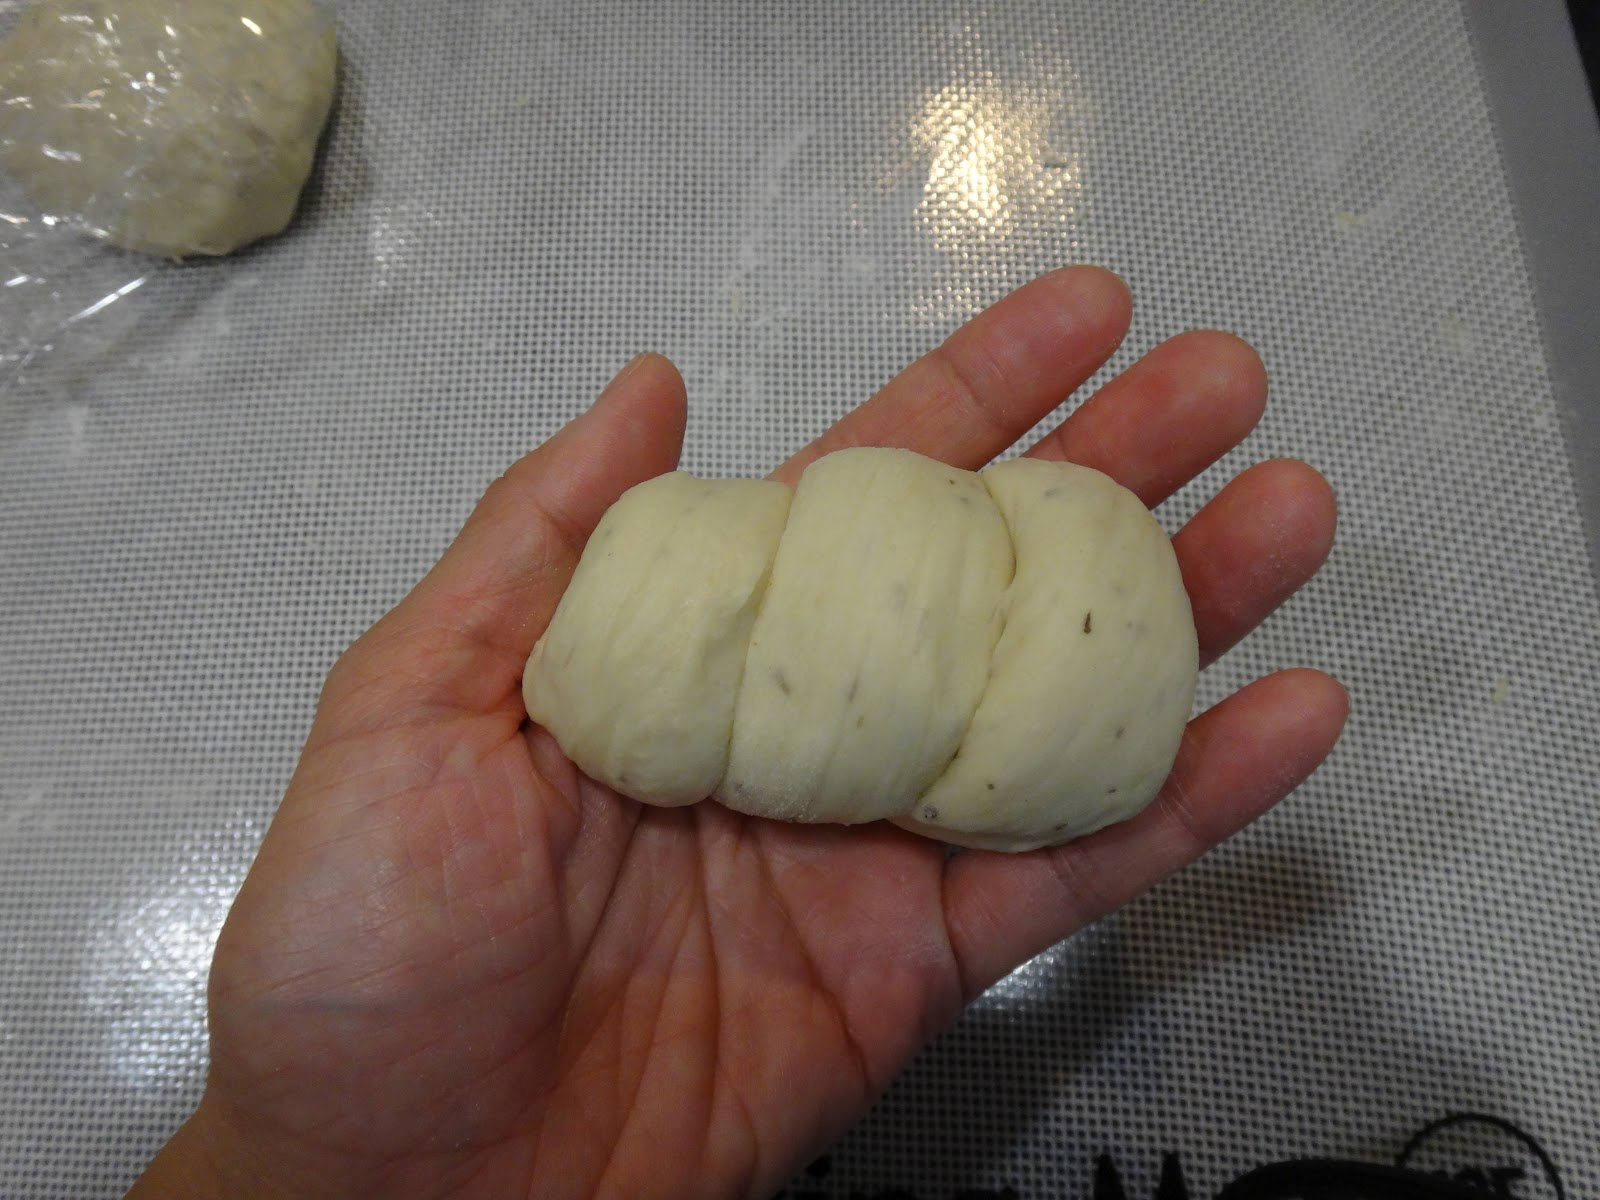
3.  Roll out dough on a lightly floured surface.  Roll each dough into a rope.
4. Wrap the dough around the hot dog link.
5. Place the dough on a baking sheet that is lined with baking paper, covered with plastic wrap, let it raise for 30-40 minutes or until doubled.
6. Preheat oven at 375F. Brush egg wash (1 egg yolk + 1 tbsp water) on dough. Bake for 12-15 minutes until golden brown. 

Chocolate Truffles

My friends invited us to their housewarming last weekend.  In addition to some store bought gifts, I made them some homemade chocolate truffles.  Homemade gifts with some personal touch.  These melt-in-your-mouth truffles are crowd pleasers.  Once you dress them up nicely, they can totally compete with the ones that they sell at the fancy chocolateries. 


Chocolate Truffles
(20 servings ~ 50 calories each)
adapted from Lindt

Ingredients:
For Ganache
¼ cup (60ml) heavy cream
5oz (150grams) Lindt milk, white or dark chocolate, chopped (I used Ghirardelli chocolate chips)
1 tablespoon (15 grams) butter, softened
Directions:
1. Place the chopped chocolate or chocolate chips in a microwavable bowl. Set aside.
2. Heat the cream in a small sauce pan until it just comes to a boil, add butter and stir until melted.


3. Pour the cream and butter mixture into the chocolate bowl, stir or whisk the mixture until the chocolate is completely melted.  Microwave the bowl to melt the chocolate completely as nessasary.


4. Put the ganache in a bowl and cover with plastic wrap, ensuring that the plastic makes contact with the entire surface of the ganache.


5. Refrigerate overnight or until the ganache is set (about 2-3 hours)
 
6. To form basic truffles
Use a teaspoon, roll the ganache in a ball and place on parchment paper. To avoid a big mess on your hands, use gloves!  And make sure you have some ice around to keep your hands cold as you roll the ganache in a ball.  The ganache melts easily. 


7. To finish the truffles
Roll truffles in unsweetened cocoa powder, powdered sugar, chocolate shavings, chopped chocolate, chopped toasted nuts or coconut.
Gummy bear chocolate :)
Chocolate Heaven! 

Saturday, June 23, 2012

Stuffed Bell Peppers

I love stuffed bell peppers.  The first time I ever had one was back in college.  You know, when you get so lazy to cook during finals and then just stock up on tv dinners from the grocery store.  Yeah, I've been there and done that.  So I fell in love with stuffed bell peppers when I had the first bite.  Soft bell peppers, with seasoned ground beef and rice...so good, so salty, so fattening and so addictive!  I was craving for some stuffed bell peppers the other day.  Now that I want to eat more healthy so I came up with a healthier version of stuffed bell peppers.  Low carb, low fat, higher in protein and fibers.  It sounds good, looks good, and tastes even better! 


Stuffed Bell Peppers
(1 serving ~ 295 calories each)

Ingredients:
1 large bell pepper (green, red, yellow, whatever you like)
1 fish fillet
1/2 yellow onion, diced
1/4 red bell pepper, diced
2 tbsp yellow canned corn
1/4 cup tomato sauce
2-3 tbsp 2% Milk reduced fat mozzarella shredded cheese
1 egg white
salt and pepper to taste

optional: you may add mushrooms, carrots, rice, or use grounded beef/turkey instead.  This recipe is very versatile, you may change anyway you want it :)

Directions:
1) Preheat oven to 400F.
2) Wash all the veggies, dice onion and red bell pepper, cut the green bell pepper in half vertically (my bell pepper was HUGE, so I cut it vertically but you may cut it horizontal and make it like a bowl), bring a pot of water to boil and blanch the bell pepper until soften.

3) Heat up a frying pan, spray it with cooking spray, saute onion, red bell pepper and corn.  Cook the fish fillet on the side and chop it up into pieces, add salt and pepper to taste, pour in tomato sauce.

4) Once the fish is cooked, you may transfer the stuffing into the green bell peppers.  I also put scrambled egg whites on top to add a little more protein.  Sprinkle cheese on top.  Bake for 10-15 minutes until cheese are melted.

Enjoy! 

Thursday, June 21, 2012

Cocktail Buns

This is another Hong Kong classic bun.  I grew up with this bun, too.  When I was younger, I prefer cocktail bun rather than pineapple bun.  Born with a sweet tooth, I loved the sweet filling inside cocktail buns.  Pineapple buns, on the other hand, only has a sweet cookie topping which, in my opinion, wasn't as good as cocktail buns.  And the crust topping on the pineapple buns can make a mess when they fall apart while eating :p Now I'm all growth up, I actually love both of them!  Today I will post the recipe for cocktail bun as one of my friends requested it :) and I'll post the recipe for pineapple bun later.

Cocktail buns
(16 servings ~ 170 calories each)
recipe adapted from here
Ingredients:

For buns:
Basic white bread recipe

For filling:
1/4 softened butter
1/8 cup non-fat milk
1 tbsp sugar
1/2 cup nonfat dry milk powder
1/2 cup all-purpose flour
8 tbsp dried coconut flakes
1 tsp custard powder

For Mexican topping: (I only used about half of this)
4 tbsp softened butter
5 tsp sugar
1/3 cup all-purpose flour

Directions:
1) Prepare basic white dough with a bread machine


2) After the dough cycle is completed, punch dough, then divide dough into 16 pieces and cover with plastic wrap. Let it rest for 15 minutes.

3) Prepare filling: cream softened butter with sugar in a bowl until the mixture is light and fluffy, stir in dry milk powder, flour and coconut until the mixture is smooth and well blended.  Add milk as necessary. 

4) Preheat oven to 375F. Line baking sheets with parchment paper.

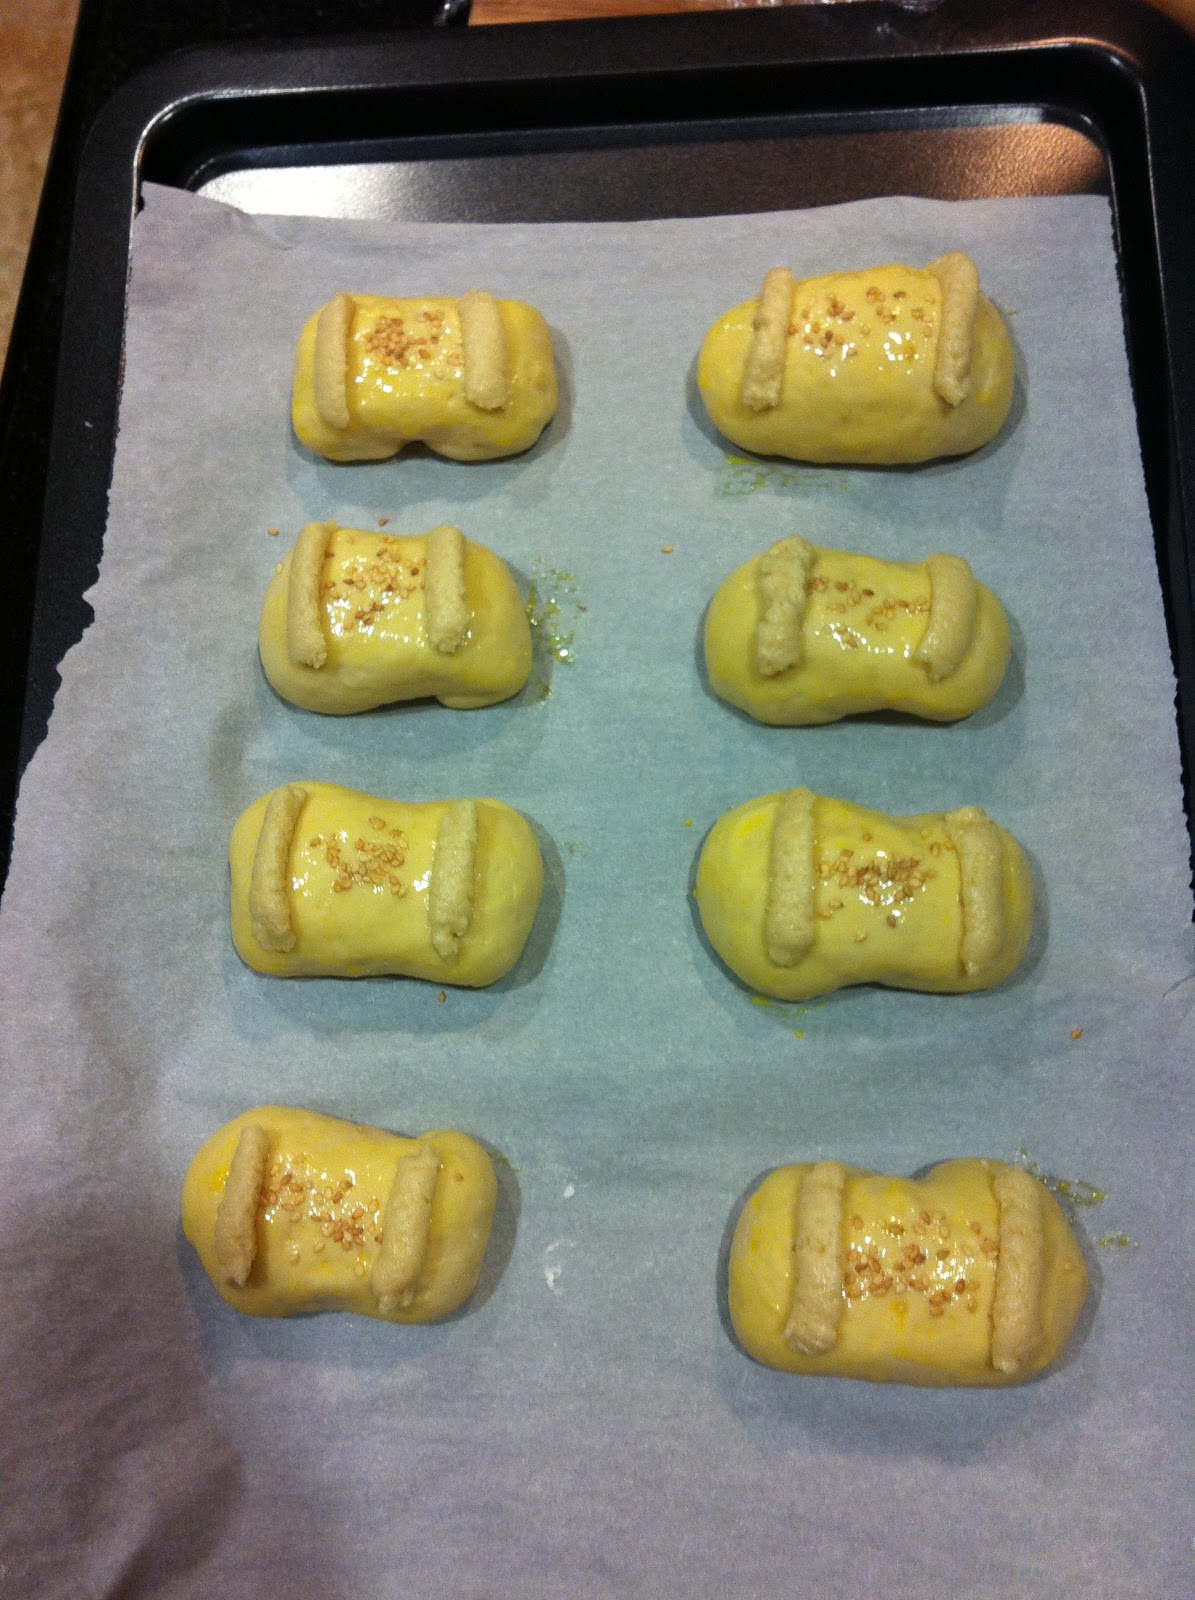
5) Fill white bread dough with fillings, cover with plastic food wrap, let rise until double in size about 30-40 minutes.  When ready, bush with eggwash, sprinkle sesame seeds to garnish and pipe two lines of the Mexican topping on top of each bun. 

6) Bake for 12-15 minutes until golden brown.


Saturday, June 16, 2012

Mango Mousse Cake

Mango Mousse Cake
It's going to be Father's day on this Sunday.  Too bad I'm working on every Sunday :( There is no time to bake so I started baking this cake on Thursday night and garnish it on Friday!  I actually got this mango mousse cake recipe from a friend two years ago.  That was the time when she started baking yummy cakes and breads.  One time she had us try her mango mousse cake and I immediately fell in love with her cake!  I asked for the recipe right away but then it seemed too complex for me to do so it has been sitting in my mailbox for the past two years.  Now my baking mode is on and mango is in season, so guess what?  Mango mousse cake, here I'm gonna bake you!    
Instead of following the original recipe exactly to the T, I used cake mix for my cake base.  It's so much easier and simple to do and there is no oil/butter on the cake.  The only fat coming out from this cake is from the mousse only.    

Mango Mousse Cake
(12 servings ~ 285 calories each)
adapted from here
Ingredients:
For cake (makes two 8-inch cake, I only used one 8-inch cake for this recipe and used the rest for petite size desserts later)
1 box Betty Crocker's SuperMoist white cake mix
3 egg whites
1/3 cup unsweetened applesauce
1/3 cup non-fat sour cream
1 cup water

For Mango Mousse:
17g Gelatin Powder
60g Hot Water

350g Whipping Cream
3 Tbsp Icing Sugar

300g Mango Puree (if refrigerated, bring to room temperature)
1Tbsp Rum

200g to 220g Cubed Mango

For Mango Puree Topping:
150g mango puree (bring to room temperature)
1 Tbsp gelatin
4-1/2 Tbsp boiling water

Directions:
1) Preheat oven to 325F.  Grease one 8-inch baking pans with cooking spray, set aside. (you may use the leftover batter for another cake or cupcakes)
2) In a large mixing bowl, beat together cake mix, water, egg whites, applesauce and sour cream in slow speed for 30 seconds then switch to medium speed for 2 minutes. 
3) Pour batter into the baking pan(s).
4) Bake for 29-35 minutes, use a toothpick to check cake, if it comes out clean, it's done.
5) Let cool for 10 minutes then remove from pan.  Let the cake cool completely prior to frosting with mousse (I left mine in the fridge overnight).  Cut the cake in half horizontally and set aside.
 
Trying to be creative by using cans to make mini cakes

6) In a mixing bowl, whip whipping cream with icing sugar to mousse state. Refrigerate to chill.
7) In a small bowl, dissolve gelatin powder in hot water. When the gelatin powder is fully dissolved, add to mango puree. Add rum to the mixture. Mix well.
8) Add the mango mixture to whipped cream. Mix well till incorporated.

9) Use a 8.5 inch cake ring, place a layer of cake and pour in mango mousse, or use a large piping tip to pipe the mixture. Add mango cubes and cover them with some mousse. Let it slightly set for about 10 minutes in the fridge.

10) Lay another cake layer and pour the remaining mousse. Let it set for 30 to 45 minutes in the fridge.


11) Meanwhile, dissolve gelatin in hot water for mango puree topping. Mix in mango puree. Wait till the mousse is set and the topping is cooled, arrange sliced fruits, if using, pour in the topping carefully. Let the cake chill for at least 3 hours before removing the cake ring. Note: I should have put the topping first before decorating with fruits, my cake topping looks uneven :(

Closer view of the mango flowers

A slice of cake, it's very moist!

My creative way of using cans to make cake rings


It was a little struggle to get the cake out but the end result was good :)
More left over cakes for personal size dessert

These turned out better because you can see the layers of cake and mousse


Overall the cake was a hit!  My family loved it :)  My dog got a share of her cake and she was begging for more!  I'm pleased with the result :) Hubby kept on saying, "it's good, it's good..." while eating his cake.  My dog's birthday is coming up!  She loves blueberries!  I'm going to bake a blueberry mousse or cheesecake for her (for us actually :p).  Stay tune! 

Happy baking :)